A leaking fuel injector can harm your vehicle’s performance and efficiency. It causes fuel waste and engine issues if ignored. DIY mechanics can fix leaks with the right steps. Fuel injectors, when leaking, show clear signs like fuel odors. Goldfarb & Associates offers expert advice for successful home repairs.
Understanding Fuel Injector Leaks
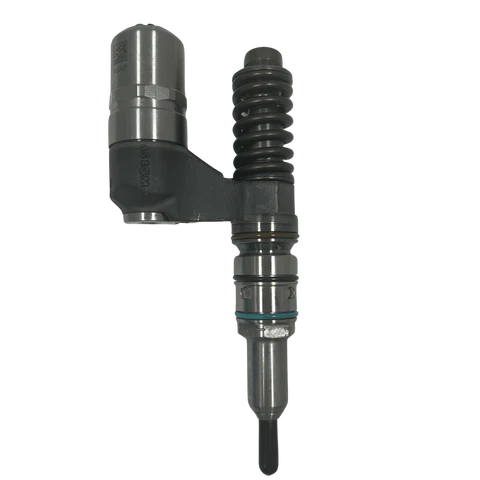
Fuel injectors deliver precise fuel amounts to the engine. Leaks disrupt this process, affecting performance. Knowing why leaks happen helps you fix them. This section covers the basics of injector leaks.
Causes of Leaks
Worn seals, cracked injector bodies, or loose connections cause leaks. Over time, heat and pressure degrade components. Poor maintenance speeds up wear. Identifying the cause guides your repair approach.
Impact on Engine Performance
Leaking injectors waste fuel, reducing mileage. They can cause misfires or rough idling. Excess fuel may damage other engine parts. Quick repairs prevent further complications.
Identifying a Leaking Fuel Injector
Spotting a leak early allows for faster fixes. Clear signs help pinpoint the issue. This section lists symptoms to watch for.
Common Symptoms
Look for fuel smells, wet spots near injectors, or poor fuel economy. Black smoke or engine hesitation also signals leaks. Regular checks catch issues before they worsen. Addressing symptoms promptly saves time.
Visual Inspection Techniques
Check injectors for fuel residue or dampness. Inspect seals and connections for wear. Use a flashlight for better visibility. Visual checks confirm leaks without complex tools.
Diagnostic Tools for Confirmation
A fuel pressure tester verifies leaks. Low pressure or irregular readings indicate problems. A multimeter can check electrical issues. These tools ensure accurate diagnosis.
Steps to Repair a Leaking Fuel Injector
Fixing leaks at home is possible with careful steps. This guide helps DIY mechanics succeed. Follow these steps for effective repairs.
Preparing for the Repair
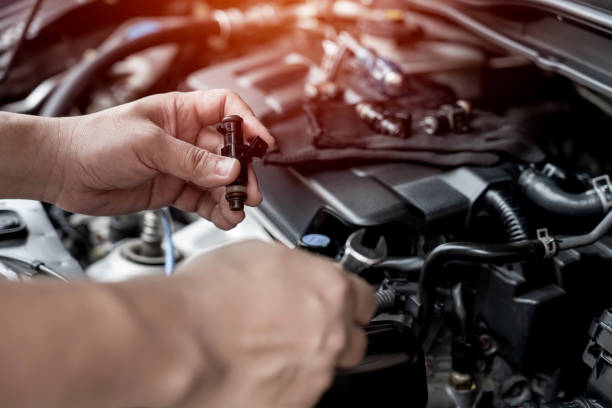
Gather essential fuel injector repair tools such as a wrench, screwdriver, and replacement injector seals. Always disconnect the battery for safety and work in a well-ventilated area. Proper preparation ensures a smooth and safe injector replacement process. Before starting, relieve fuel system pressure to prevent leaks or spills. Carefully remove the fuel rail and detach each fuel injector, labeling components for easy reassembly. Handle all injector parts gently to avoid damage and ensure reliable engine performance after installation.
Replacing Seals and O-Rings
Worn seals often cause leaks. Replace them with new, compatible O-rings. Lubricate new seals with engine oil before installation. This ensures a tight, leak-free fit.
Reinstalling and Testing
Reattach the injector and fuel rail securely. Tighten bolts to manufacturer specs. Start the engine and check for leaks. Testing confirms the repair’s success.
Key Repair Tips
- Clean the Area: Remove dirt before starting to prevent contamination.
- Use Quality Parts: Choose reliable seals from trusted suppliers like Goldfarb & Associates.
- Check Torque Settings: Over-tightening damages components, so use a torque wrench.
Preventing Future Leaks
Regular care stops leaks before they start. Simple habits maintain injector health. This section shares preventive tips.
Routine Maintenance Practices
Change fuel filters every 10,000–15,000 miles. Use high-quality fuel to reduce deposits. Regular oil changes support injector performance. Consistent care prevents wear and leaks.
Monitoring Fuel System Health
Check for unusual engine sounds or performance drops. Inspect injectors during routine maintenance. Use a pressure tester periodically. Early detection avoids major issues.
Using Fuel Additives
Additives clean injectors and prevent buildup. Choose diesel or gasoline-specific formulas. Use them every 3,000 miles for best results. Additives complement regular maintenance.
Preventive Maintenance Checklist
- Inspect Connections: Ensure all fittings are tight and free of wear.
- Use Quality Fuel: Avoid low-grade fuel that leaves deposits.
- Schedule Regular Checks: Visit Goldfarb & Associates for professional inspections.

Conclusion
Repairing a leaking fuel injector at home is achievable with the right steps. By spotting signs early and following a careful repair process, you restore engine efficiency. Regular maintenance and quality parts prevent future leaks. Goldfarb & Associates supports DIY mechanics with expert advice and reliable components. Keep your fuel system in top shape for smooth driving.
FAQs
What causes fuel injectors to leak?
Worn seals, cracked injector bodies, or loose connections cause leaks. Heat and pressure degrade parts over time. Poor maintenance worsens the issue. Regular checks prevent these problems.
How do I know if my fuel injector is leaking?
Look for fuel smells, wet spots, or reduced mileage. Black smoke or misfires also indicate leaks. A pressure test confirms the issue. Early detection ensures quick repairs.
Can I drive with a leaking fuel injector?
Driving with a leak risks engine damage and poor performance. It wastes fuel and may fail emissions tests. Fix leaks promptly to avoid bigger issues. Professional help ensures safety.
How often should I check my fuel injectors?
Inspect injectors every 12,000 miles or during routine maintenance. Regular checks catch leaks early. Use additives to keep them clean. Consistent care maintains efficiency.
Related Reads
- Why Florida Is The #1 Destination For Yacht Transport In The USA?
- Budget-Friendly Loft Conversion Tips for Homeowners
- Acuvue Contact Lenses for Astigmatism: Expert Tips for Clear Vision
- Barrel Pump Manufacturers: Trusted Solutions by Malhar Pump
- Mens Holiday Shoes: Stylish, Comfortable & Travel-Ready Footwear