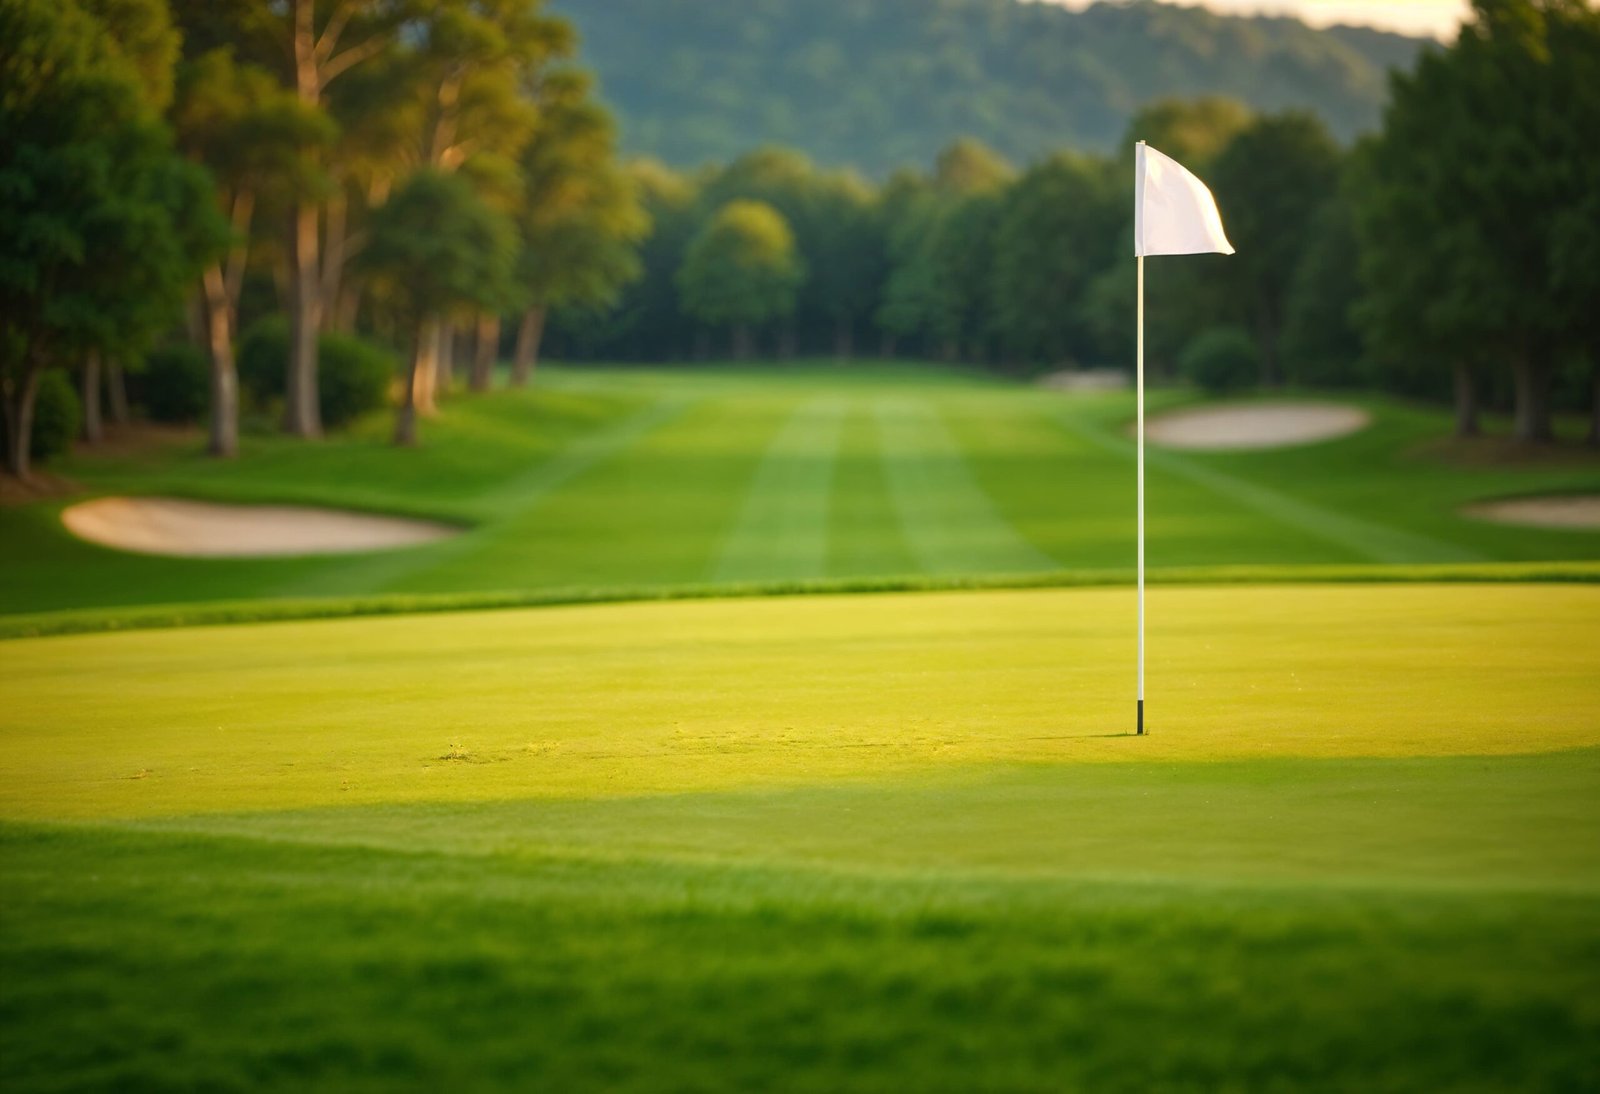
Imagine leisurely afternoons honing your short game, entertaining friends with friendly competitions, or simply enjoying the lush green aesthetic. While the idea might seem complex, installing putting green artificial grass in a backyard is a manageable project with the proper guidance. This comprehensive guide walks through essential artificial grass installation tips to create the home putting greens of your dreams.
Planning the Perfect Putting Paradise
Before laying down any putting green artificial grass, meticulous planning is crucial for a successful custom putting green installation. This initial phase sets the foundation for a smooth and satisfying project.
1. Location
Carefully consider the location for a backyard putting green. Choose a relatively level area to minimize extensive excavation. Think about sunlight exposure – a mix of sun and shade is ideal to prevent the artificial grass from overheating. Also, consider drainage. A slight natural slope is beneficial, but if the yard is flat, drainage solutions must be incorporated into the custom putting green installation plan.
2. Size and Shape
How big should a personal golf haven be? Consider the space available in the backyard and how the home putting green will be used. Will it be for serious practice, casual games, or primarily for aesthetics? Sketch out a few potential designs for the custom putting green installation, experimenting with different shapes and sizes. Remember to factor in space for stance and follow-through.
3. Contour and Challenge
Don’t limit the putting green space to flat surfaces only! Incorporating gentle undulations and breaks into the custom putting green installation will add realism and challenge. Research common putting green designs, or even visit local golf courses for inspiration. Plan for subtle slopes or even a small “break” to mimic real-world putting conditions. This will significantly enhance the functionality of a backyard putting green.
4. Drainage is Key for Long-Lasting Artificial Grass
Proper drainage is paramount for the longevity and playability of a putting green artificial grass. Waterlogged home putting greens are no fun and can damage the artificial grass over time. Evaluate the existing soil’s drainage capabilities. If it drains poorly (clay-heavy soil), plan for a more substantial sub-base with drainage layers. Consider installing French drains or a permeable sub-base material to ensure water can escape effectively. This is a non-negotiable aspect of any successful custom putting green installation.
5. Budgeting for Backyard Putting Greens
Establish a realistic budget for the custom putting green installation. Costs will vary depending on the size of the green, the type of putting green artificial grass, the complexity of the design (including contours and breaks), and whether to hire professional help for any stage. Factor in the cost of materials like the artificial grass itself, the sub-base materials, infill, and any tools needed.
Gathering All Green-Making Gear
Once the plan is solidified, it is time to gather the necessary materials and tools for the custom putting green installation. Using the right equipment will make the process smoother and ensure a professional-looking result for a home putting greens.
1. The Star of the Show: Putting Green Artificial Grass
This is the most crucial element. Putting green artificial grass is specifically designed for the demands of putting, featuring a dense, short pile that allows for a true and consistent ball roll. Choose a high-quality artificial grass from a reputable supplier. Consider factors like pile height, density, and colour. Request samples to see and feel the different options before making a final decision for a backyard putting green.
2. Building a Solid Foundation: Sub-Base Materials
The sub-base provides a stable and level foundation for putting green artificial grass. Common materials include crushed aggregate (like decomposed granite or crushed stone) and sand. The thickness of the sub-base will depend on soil type and the existing ground level. For good drainage, consider a layer of permeable weed barrier fabric beneath the sub-base. A well-prepared sub-base is essential for a smooth and long-lasting custom putting green installation.
3. Keeping Weeds at Bay: Weed Barrier Fabric
A high-quality weed barrier fabric laid beneath the sub-base will prevent weeds from growing through putting green artificial grass, ensuring a pristine surface for home putting greens. Choose a durable and permeable fabric.
4. Enhancing Performance: Infill Material
Infill is typically a fine sand or a specialized synthetic material that is brushed into the artificial grass fibers. It helps the fibers stand upright, provides cushioning, and contributes to a realistic ball roll on backyard putting greens. The type and amount of infill will depend on the specific artificial grass chosen, so follow the manufacturer’s recommendations for optimal performance of custom putting green installation.
5. Essential Tools for the Job
- Excavation Tools: Shovels, rakes, wheelbarrow (if significant soil removal is needed).
- Levelling Tools: Use levelling tools, string lines, measuring tape.
- Compaction Tools: Use a plate compactor or hand tamper to create a firm sub-base for home putting greens.
- Cutting Tools: Utility knife with plenty of sharp blades for trimming the artificial grass.
- Seaming Tools: Seaming tape and adhesive specifically designed for artificial grass.
- Spreading Tools: Drop the spreader or stiff brush to distribute the infill evenly across the putting green artificial grass.
- Measuring and Marking: Use a measuring tape, marking paint or stakes.
Laying the Groundwork: Preparing the Site
With a plan in place and all materials gathered, it is time to prepare the site for the custom putting green installation. This stage involves shaping the land and creating the ideal foundation for a backyard putting green.
1. Clearing the Area
Remove any existing grass, weeds, rocks, or debris from the designated area for the home putting green. Ensure the area is clean and free of any obstructions that could interfere with the artificial grass installation.
2. Excavation and Shaping
If the ground is uneven or if incorporating contours, this is the stage to excavate or add soil to achieve the desired shape for custom putting green installation. Use string lines and building levels for guidance. Remember to account for the thickness of the sub-base and the artificial grass itself.
3. Installing Drainage (If Necessary)
If the soil drains poorly, install a drainage system (e.g., French drains) at this stage, ensuring it will effectively channel water away from the backyard putting green.
4. Laying the Weed Barrier
Once the area is shaped, lay down the weed barrier fabric, overlapping the edges by several inches. Secure it with landscape staples to prevent it from shifting during the artificial grass installation.
5. Building the Sub-Base
Spread the chosen sub-base material evenly over the weed barrier. Rake it smooth to ensure a consistent thickness and a level surface for the home putting green. Compact the sub-base thoroughly using a plate compactor or hand tamper. This creates a firm and stable foundation for the putting green artificial grass. A well-compacted sub-base is critical for a smooth and consistent ball roll on a backyard putting green.
Going Green: Installing the Artificial Grass
Now for the exciting part – laying down the putting green artificial grass and watching your personal putting paradise take shape!
1. Unrolling and Positioning the Artificial Grass
Carefully unroll the artificial grass over the prepared sub-base. Position it according to the planned layout for the custom putting green installation, ensuring it aligns with any contours or breaks created.
2. Allowing for Adjustment
Let the artificial grass sit in the sun for a few hours. This allows it to relax and flatten out, making it easier to work with and trim.
3. Precise Cutting
Using a sharp utility knife, carefully trim the edges of the artificial grass to fit the exact shape of the backyard putting green. Cut from the back of the artificial grass to avoid damaging the fibers. Leave a slight overlap where seams will occur.
4. Seaming the Pieces
If the home putting green requires more than one piece of artificial grass, they will need to be seamed together. Lay the edges of the artificial grass pieces close together (without overlapping). Apply seaming adhesive to the seaming tape and place it underneath the seam, joining the two pieces securely. Follow the manufacturer’s instructions for the adhesive and tape.
5. Securing the Edges
Once the artificial grass is positioned and seamed, secure the perimeter edges with landscape staples, spacing them every few inches. This will keep the artificial grass firmly in place and prevent it from lifting.
The Finishing Touches: Infill and Grooming
The final stages of a custom putting green installation involve adding the infill and grooming the artificial grass to achieve the perfect putting surface for a backyard putting green.
1. Distribute the Infill
Using a drop spreader or a stiff brush, evenly distribute the infill material over the putting green artificial grass. Work in sections, ensuring the infill is spread uniformly across the entire surface of the home putting green.
2. Brushing Through
Use a power brush or a stiff-bristled broom to work the infill down into the artificial grass fibers. Brush in multiple directions to ensure the infill settles properly and the fibers stand upright, creating an optimal putting surface on the backyard putting green. This step may need to be repeated several times, adding more infill as needed, until the desired level is achieved.
3. Final Grooming
Once the infill is in place, give the putting green artificial grass a final brush to ensure the fibers are standing upright, and the surface is smooth and consistent for a true ball roll on the home putting green.
Maintaining A Backyard Putting Paradise
With the custom putting green installation complete, proper maintenance will keep the backyard putting green looking and performing its best for years to come.
- Regular Brushing: Periodically brush the artificial grass to keep the fibers upright and redistribute the infill.
- Debris Removal: Remove any leaves, twigs, or other debris that accumulate on the surface.
- Occasional Rinsing: Rinse the artificial grass with water to remove dust and dirt.
- Weed Control: Although the weed barrier should prevent most growth, occasionally inspect for any stray weeds and remove them promptly.
By following these artificial grass installation tips, it is easy to create a beautiful home putting green successfully! A custom putting green installation will not only enhance a backyard’s aesthetics but also provide endless hours of putting practice and enjoyment. So, get planning, gather all the gear, and get ready to sink those perfect putts on your very own backyard putting green!


